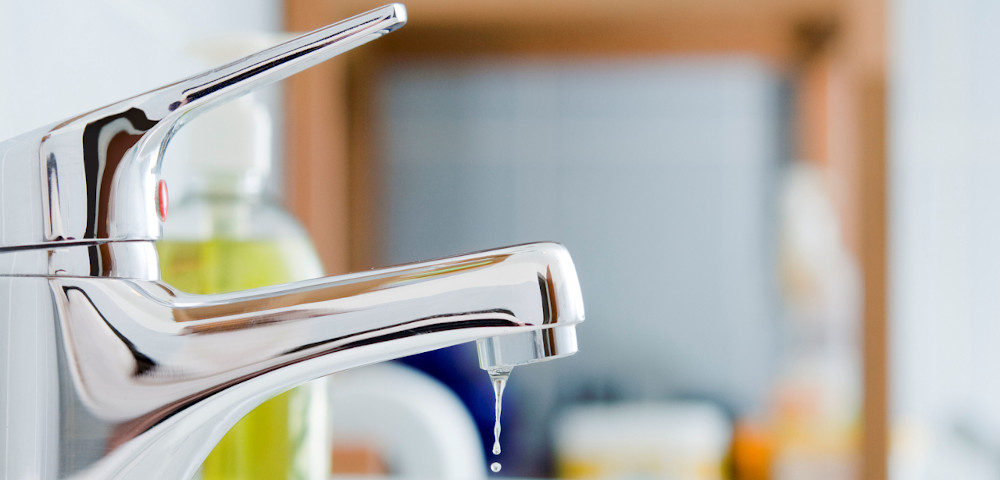
Install a beautiful mixer tap in your bathroom with these easy DIY tips from Cashbuild
Get ready
Note the exact measurement of the hole in the basin surround where you'll fit the new mixer. Check the position of the hole as it will affect how much of a reach the spout of the new tap should have. For instance if you buy a basin mixer with too short a spout, water will flow onto the basin rim instead of into the bowl. Check the thread on the water supply pipes (see the tip at Step 3).
Step 1
Turn off the water supply to the tap
Check the existing fitting or tap to see if there's an angle or stop valve between the flexi hose and the water supply pipes.
- If there is, close off the water supply at the angle or stop valve before installing the new unit.
- If there's no angle/stop valve you'll have to turn off the main water supply to your home.
Tip: Ensure the hot and cold water supplies are both switched off. Once you've done this, open the existing mixer to let out the water remaining in the pipe.
Step 2
Remove the existing mixer
Start by loosening the water supply tubes (flexi hoses) from the wall. Then loosen the basin mixer fastening set (under the basin) that holds the mixer firmly in place. Gently pull the existing mixer - still attached to the flexi hoses - upwards. Allow the flexi hoses to pass through the hole in the basin.
Use hot water and a cloth to clean the area around the hole thoroughly before installing the new unit.
Tip If you have difficulty getting the hoses through the hole; loosen them from the base of the mixer with a small shifting spanner.
Step 3
Install the new mixer
Remove the new basin mixer and its components from the packaging, place them nearby on the floor for easy access.
Tip Make sure before you start that the thread on the flexi hose nuts are compatible with the thread on the water supply pipes that you have to fasten them to. The flexi hose nuts have a 1,27 cm female thread at the nut. Your water supply pipes should therefore have a 1,27 cm male thread so you can fasten he flexi hoses to them. If they don't you'll need adaptors.
Step 4
Attach the flexi hoses
Attach the flexi hoses to the holes at the bottom of the basin mixer. Make sure the flexi hose marked in red is used for the hot water supply and the flexi hose marked in blue is used for the cold water supply. Fit the bolt from the fastening set onto the base of the basin mixer.
Feed the two flexi hoses back through the basin hole. position the basin mixer securely in the right place. Working under the basin, fit the half-moon rubber washer onto the fastening set bolt, followed by the half-moon metal flange. Fit the nut onto the bolt and fasten it using the correct size spanner.
Tip Ensure the mixer is tightly secured to the basin.
Step 5
Link up the water supply
Connect the flexi hoses to the water supply using a spanner at the nut and again ensure that the hot and cold hoses are connected to the correct water supply pipes. You can now turn on the water supply.
Make sure there are no leaks at the basin mixer or at the flexi hose connections.
Call Cashbuild on 0860-100-582 or visit your nearest Cashbuild store